 Wawa-news.com Local and Regional News
The second day is a bit more interesting – and I’ll keep it shorter as well.
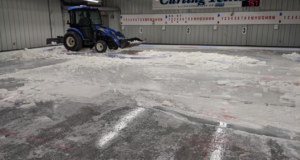
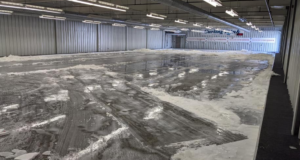
B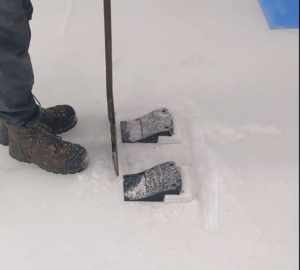 efore we do anything to the ice, it’s cleanup time. We remove all of the rocks from the surface and store them safely for the season, as well as put away some of the curling maintenance equipment as well. We need to make sure we get everything off the ice before it gets soft – the rocks in particular absorb heat differently and can melt their way down into the surface.
 efore we do anything to the ice, it’s cleanup time. We remove all of the rocks from the surface and store them safely for the season, as well as put away some of the curling maintenance equipment as well. We need to make sure we get everything off the ice before it gets soft – the rocks in particular absorb heat differently and can melt their way down into the surface.
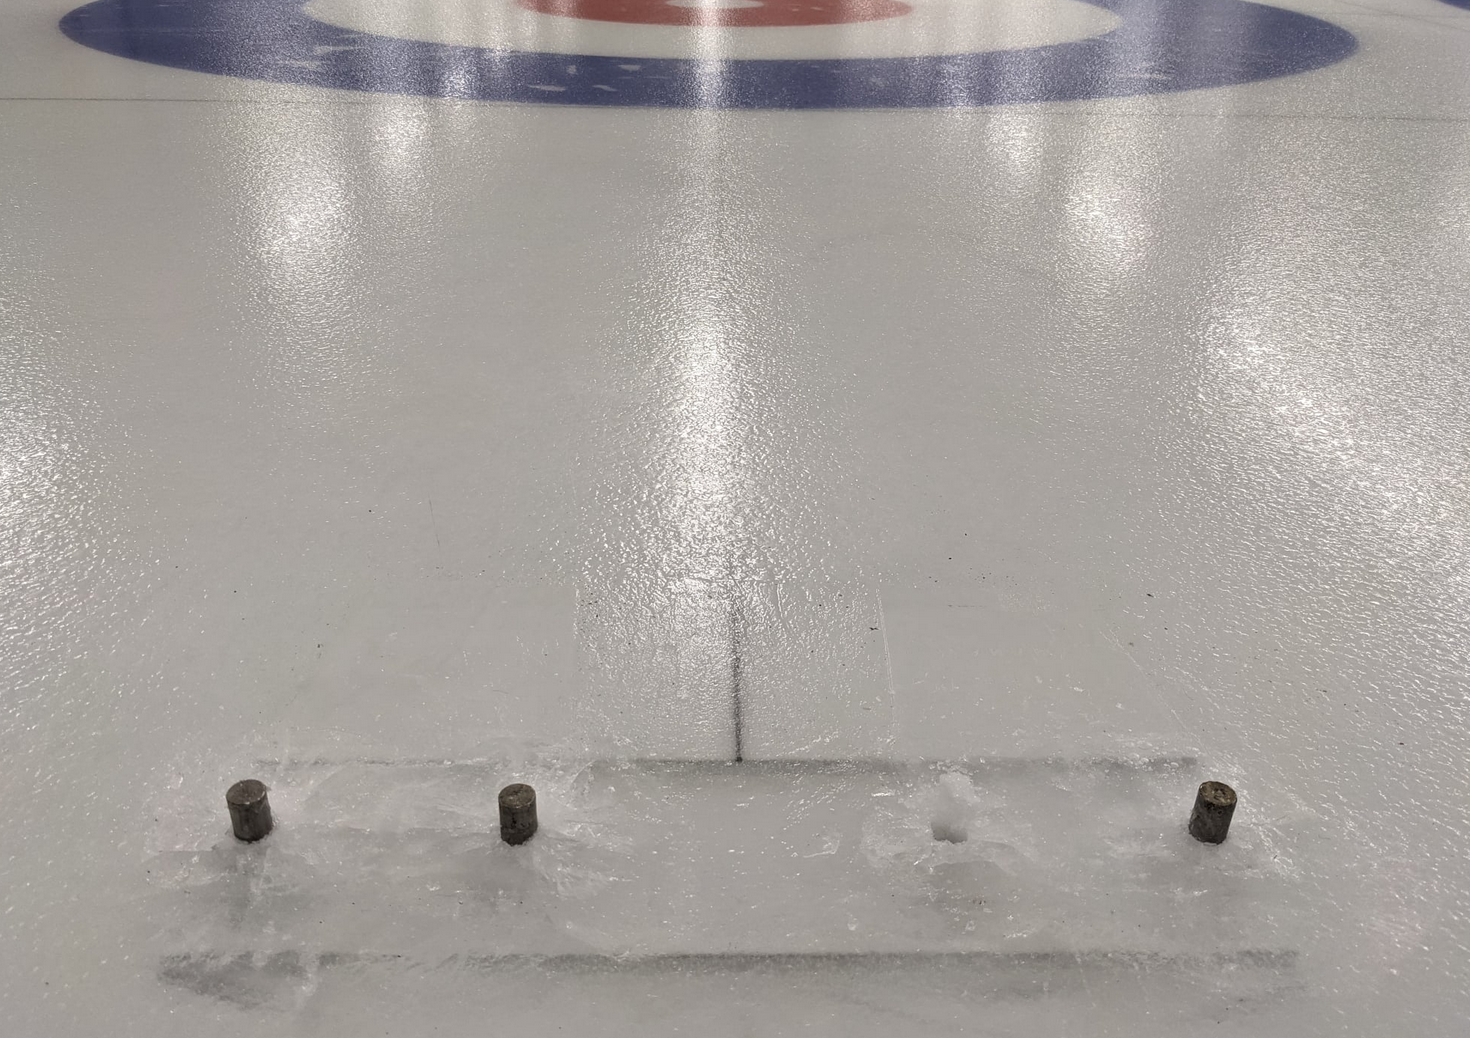
We then did some test chips around a hack to see how hard the ice still is on the surface. See the small chips and snow?
That means the ice is still too hard and we aren’t being effective. We’re looking for larger chunks to indicate the ice has weakened.
We also took the footblocks of the hacks out – and you can see what they look like underneath. The metal tray and pins get frozen into the ice and the footblocks are installed after the ice is almost done. They come out the opposite way.
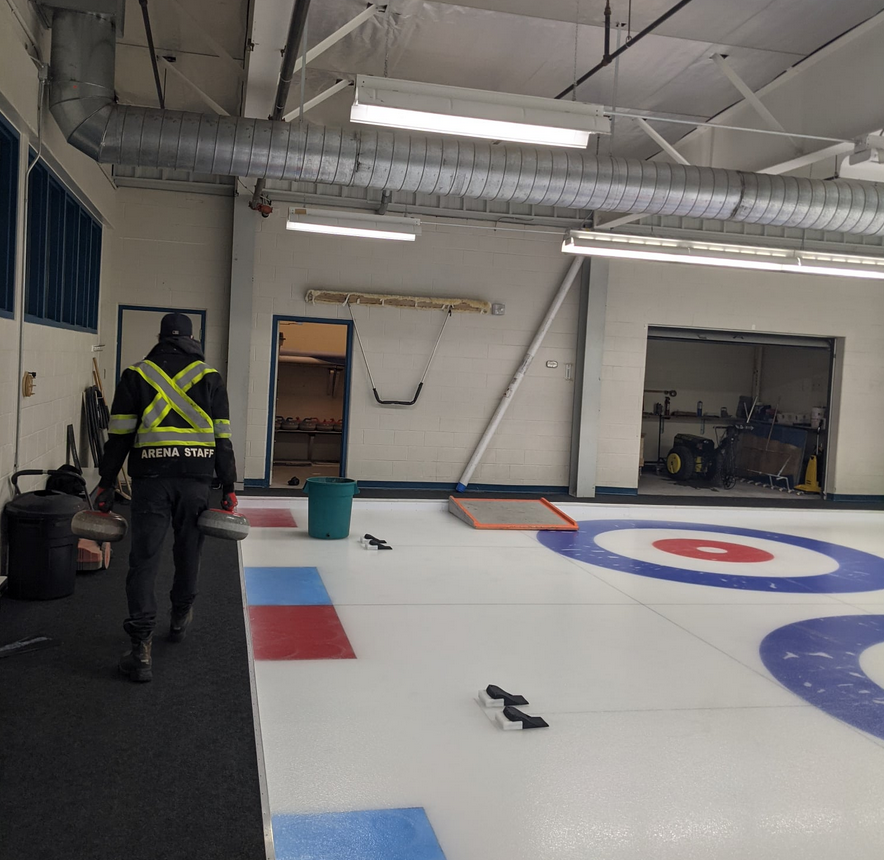
 After cleaning up the hacks we put them away for the next season. Now it’s a waiting game, watching the temperature and ice surface, and testing the ice until we are ready to start taking out the houses and lines.
SOURCE: MMCC Staff
Latest posts by found on fb (see all)
- Chapleau Minor Hockey Association – We Did It! - April 23, 2026
- Nursing Staff Pressures April 13, 3025 - April 13, 2025
- U9 Wawa Winter Classic - March 7, 2025